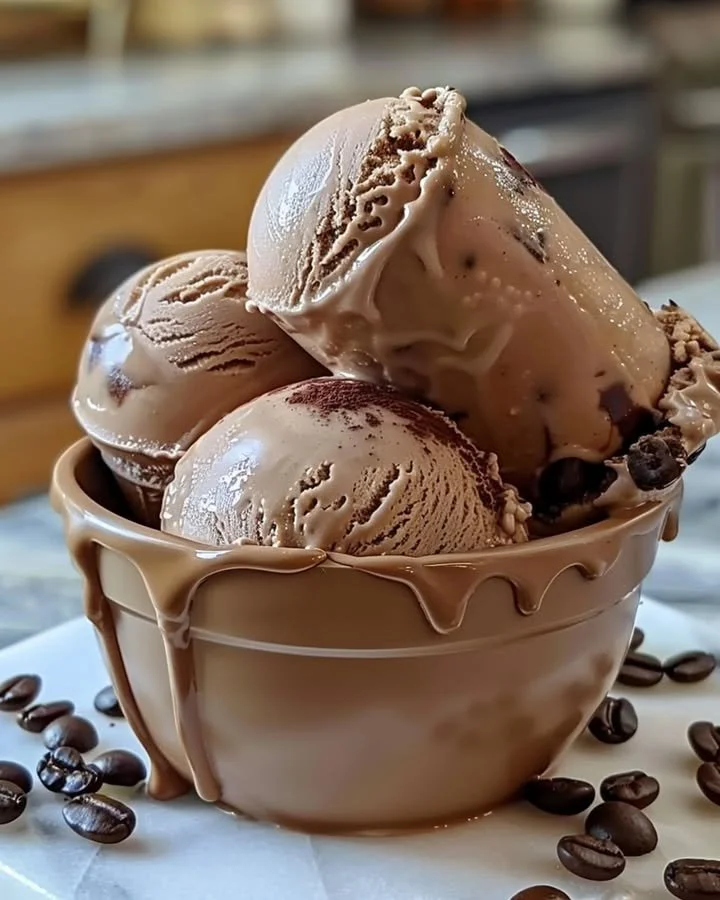
Homemade Coffee Ice Cream
Indulging in the rich creaminess of Homemade Coffee Ice Cream is like wrapping yourself in a soft, velvety blanket of flavor. This recipe brings together the aromatic essence of freshly brewed coffee and the luxurious textures of heavy cream and sugar, creating a delightful treat that’s perfect for warm summer evenings or cozy winter nights. With each spoonful, you’ll experience the sweet euphoria of a café-style dessert, and the process of making it is as satisfying as tasting it. This step-by-step guide will help you navigate through the art of crafting your own luscious ice cream.
History / Fun Fact
Coffee ice cream has a fascinating history that intertwines with the love for coffee itself. While the exact origins remain murky, coffee-flavored ice cream is believed to have first appeared in Italy, where gelato artisans experimented with various rich flavors to tantalize their customers. The delight quickly gained popularity and made its way to ice cream shops across America in the early 20th century. Serving as an elegant dessert option, this frosty treat often brings people together, whether enjoyed during a bustling café outing or a simple gathering at home.
Ingredients
Creating Homemade Coffee Ice Cream requires a few essential ingredients that are not only delightful but also come together to create a comforting treat. Gather:
- 2 cups heavy cream: This rich, thick cream gives the ice cream its luxurious texture.
- 1 cup whole milk: Adds creaminess and balances the richness of heavy cream.
- 3/4 cup granulated sugar: Sweetness that enhances the coffee flavor.
- 2 tablespoons instant coffee or espresso powder: Provides the deep, aromatic coffee element.
- 1 tablespoon vanilla extract: A hint of warmth that elevates the entire flavor profile.
- 1/2 teaspoon salt: A small addition, but it brings out the sweetness in the mix.
Each ingredient plays a pivotal role in crafting the perfect balance of richness and flavor, resulting in a Halal-friendly dessert that everyone can enjoy.
Cooking Time & Tips for Homemade Coffee Ice Cream
When it comes to the cooking time for this enticing Homemade Coffee Ice Cream, you have the option of a quick preparation or a more leisurely approach. Whipping it up quickly can take as little as 20 minutes of active prep time, but allowing the mixture to chill in the refrigerator for a couple of hours or overnight enhances the flavors profoundly.
For best results, use high-quality coffee or espresso powder to achieve that deep, rich flavor that coffee lovers adore. Additionally, chilling your mixture before churning is crucial as it helps achieve a smoother texture. If you’re using an ice cream maker, familiarize yourself with its settings to ensure your ice cream achieves that perfect soft-serve consistency.
Step-by-Step Directions
Begin by grabbing a large mixing bowl. Whisk together the creamy heavy cream, whole milk, and granulated sugar until you see the sugar dissolve, leaving behind a beautifully smooth mix. The aroma of the heavy cream is enveloping, inviting you to keep going.
Next, sprinkle in the instant coffee or espresso powder. This moment is magical—the instant coffee dissolves, filling the kitchen with its aromatic essence. Add the vanilla extract and salt, whisking until thoroughly combined again. The sensory dance of sweet, rich aromas wafts through the air!
Once everything is well-mixed, it’s time to transfer the mixture into your ice cream maker. Follow the manufacturer’s instructions, and let the machine work its magic, transforming the mixture into soft, fluffy clouds of coffee goodness.
When your ice cream reaches that soft-serve consistency, take a moment to admire its creamy perfection. Immediately transfer it into an airtight container, pressing down slightly to eliminate any air pockets.
Finally, freeze the ice cream for at least 4 hours or until it reaches your desired firmness. The moment you open the freezer and scoop into that beautifully frozen ice cream will be pure bliss!
Serving Suggestions & Occasions
Homemade Coffee Ice Cream is incredibly versatile when it comes to serving. Try it in an elegant dessert bowl paired with a drizzle of chocolate sauce or a sprinkle of crushed hazelnuts for added crunch. For special occasions, serve it alongside a warm slice of chocolate cake or a rich, fudgy brownie. It’s also a fantastic way to elevate weekend brunch gatherings, allowing guests to enjoy a scoop with their coffee.
Imagine a summer afternoon barbecue, where your homemade coffee ice cream becomes the star of the dessert table. Whatever the occasion may be, this creamy delight will surely impress and satisfy everyone’s sweet tooth.
Common Mistakes for Homemade Coffee Ice Cream
One of the most common mistakes when making Homemade Coffee Ice Cream is not allowing the mixture to chill before churning. Skipping this step can lead to a grainy texture rather than the silky smooth ice cream you desire. Additionally, being heavy-handed with instant coffee can lead to an overpowering taste; finding the right balance is crucial.
It is also important not to over-churn the ice cream. If you leave it in the ice cream maker too long, you might end up with a mix that’s too dense. Finally, remember that proper freezing is essential—storing your ice cream in a shallow container will also speed up the freezing process, making for a better texture.
Healthier Alternatives & Variations
For those looking for a lighter option, consider substituting half of the heavy cream with coconut cream for a luscious coconut twist that still maintains that wonderful coffee flavor. Alternatively, if you want a dairy-free option, use almond milk or another plant-based milk in place of whole milk and cream.
You can also play around with flavors! Try adding chocolate chips, cocoa powder, or a hint of cinnamon to create variations that are just as delightful. For a fun twist, mix in some crushed cookies or candy bars for a crunchy texture—each spoonful will be a delightful surprise!
FAQs
Can I make this ice cream without an ice cream maker?
Yes, you can. Pour the mixture into a shallow dish and freeze it, stirring every 30 minutes until it reaches your desired consistency.How long can I store homemade coffee ice cream?
It’s best enjoyed within two weeks for optimum freshness. After this, it may start to lose creaminess.Can I use decaf coffee for this recipe?
Absolutely! Using decaf coffee will give you the same rich flavor without the caffeine kick.Is it possible to use flavored coffee powder?
Yes, flavored coffee powders can add unique dimensions to your ice cream, though keep in mind that you might want to adjust the quantity to avoid overpowering other flavors.What if my ice cream is too hard after freezing?
If your ice cream is too hard, simply let it sit at room temperature for 5-10 minutes to soften before scooping.Can I add mix-ins like nuts or chocolate?
Definitely! You can add mix-ins during the last few minutes of churning or once transferred to an airtight container before freezing.
Conclusion
Making Homemade Coffee Ice Cream is a delightful adventure that brings joy not only in the rich and creamy texture but also in the process itself. As you take the time to create this decadent treat, you’re preparing a flavor-packed experience that can be shared with loved ones or enjoyed during cherished quiet moments. Whether you serve it in elegant bowls or dip right into the container, this recipe is bound to capture hearts and elevate your dessert game. Tempted to try it? Get started today and treat yourself to a scoop (or two) of your very own creation!

Homemade Coffee Ice Cream
Ingredients
Base Ingredients
- 2 cups heavy cream This rich, thick cream gives the ice cream its luxurious texture.
- 1 cup whole milk Adds creaminess and balances the richness of heavy cream.
- 3/4 cup granulated sugar Sweetness that enhances the coffee flavor.
- 2 tablespoons instant coffee or espresso powder Provides the deep, aromatic coffee element.
- 1 tablespoon vanilla extract A hint of warmth that elevates the entire flavor profile.
- 1/2 teaspoon salt Brings out the sweetness in the mix.
Instructions
Preparation
- In a large mixing bowl, whisk together the heavy cream, whole milk, and granulated sugar until the sugar dissolves.
- Add the instant coffee or espresso powder, vanilla extract, and salt, whisking until thoroughly combined.
- Transfer the mixture into your ice cream maker and follow the manufacturer's instructions.
- Once reaching soft-serve consistency, transfer the ice cream into an airtight container, pressing down to eliminate air pockets.
- Freeze for at least 4 hours or until desired firmness is achieved.