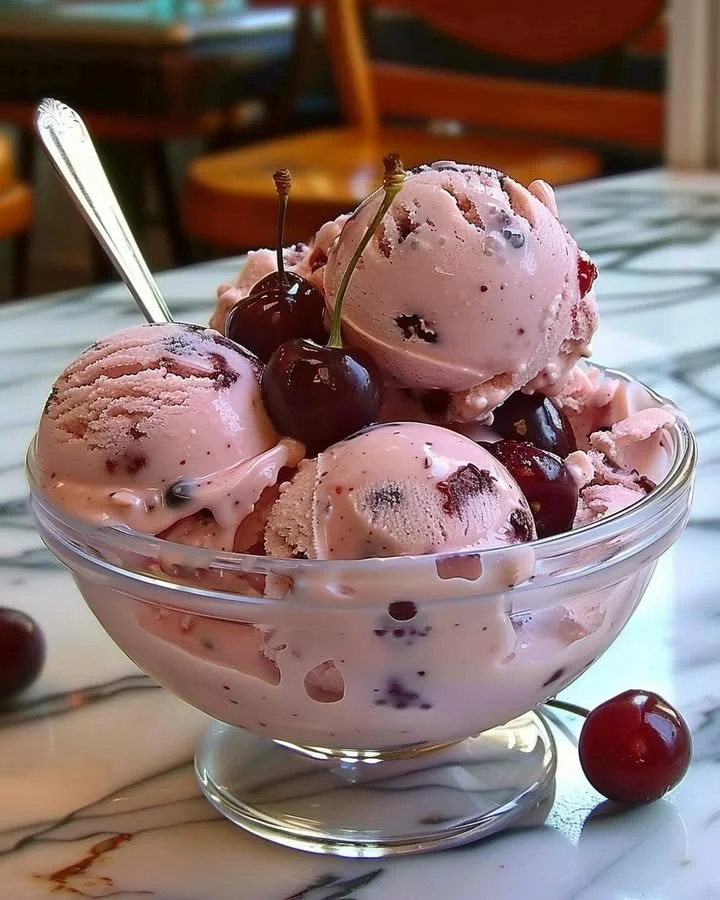
Homemade Cherry Ice Cream
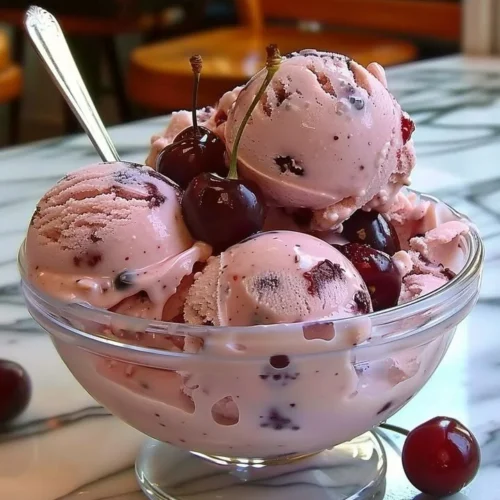
Indulging in a rich, creamy scoop of homemade cherry ice cream is one of summer’s greatest pleasures. This recipe captures the essence of ripe cherries, offering a delightful contrast of sweet and tart flavors that dance on your palate. Imagine the velvety texture melting in your mouth, complemented by the vivid pop of fresh cherries. As you embark on this step-by-step journey, you’ll not only uncover the secrets of making this luscious treat but also feel the warmth of nostalgia as memories of sunny afternoons and family gatherings tickle your senses. Let’s dive into the world of homemade cherry ice cream that promises to transport you back to childhood days!
History / Fun Fact
Ice cream has a long, fascinating history that dates back to ancient civilizations. The earliest forms of ice cream were enjoyed by the Chinese as early as 200 BC, featuring a mixture of milk and rice packed in snow. However, it wasn’t until the 18th century that ice cream, as we know it today, began to take shape in Europe and America. Cherry ice cream became popular in the United States during the 19th century when cherry orchards flourished in places like Michigan and Washington State. Combining the sweet tartness of cherries with the smoothness of cream created the perfect dessert for hot summers. It’s a delightful homage to the bounty of nature, and making it at home connects us to this rich culinary heritage.
Ingredients
To create this homemade cherry ice cream, you’ll need a symphony of flavors and textures that come together harmoniously. Gather 2 cups of heavy cream, which will provide the foundation of creamy richness. Add in 1 cup of whole milk for smoothness, then sweeten it with 3/4 cup of granulated sugar, which will balance the tartness of the cherries. A teaspoon of aromatic vanilla extract enhances the overall flavor profile. Next, you’ll need 2 cups of fresh cherries, bursting with juiciness, pitted and chopped to release their vibrant essence. A tablespoon of lemon juice adds a zesty brightness, while 1/2 teaspoon of almond extract (optional) can lend a nutty depth. If you prefer a thicker consistency, you can also include 1 tablespoon of cornstarch.
Cooking Time & Tips For Homemade Cherry Ice Cream
When it comes to preparing your homemade cherry ice cream, the process can take two distinct paths: quick versus slow preparation. If you’re in a hurry, you can focus on the basic churning process, but be aware that allowing the mixture to infuse and cool slowly can deepen the flavor and create a creamier texture. One practical tip for success is to allow your ingredients to be at room temperature before combining them; this step ensures everything melds beautifully without too many bubbles. Another suggestion is to opt for ripe, seasonal cherries, as their natural sweetness will elevate your final product. Take your time—this is a treat that deserves patience.
Step-by-Step Directions
Start your ice cream journey by grabbing a medium saucepan. Combine the 2 cups of heavy cream, 1 cup of whole milk, and 3/4 cup of granulated sugar over medium heat. Stir occasionally, letting the sugar dissolve completely as the mixture warms, filling your kitchen with a cozy aroma. While the cream mixture is heating, take a moment to prepare your cornstarch. In a separate small bowl, mix 1 tablespoon of cornstarch with 2 tablespoons of milk, creating a smooth slurry. Gradually add this slurry into the warming cream mixture, stirring consistently for about 5 to 7 minutes. You’re looking for a slight thickening of the mixture, an indication that it’s ready for the next step.
Once thickened, remove the saucepan from heat and allow the mixture to cool to room temperature. The anticipation builds! While it cools, it’s time to prepare those luscious cherries. In a clean bowl, toss your 2 cups of chopped cherries with the tablespoon of lemon juice, preserving their lovely color and enhancing their natural sweetness. Can you smell those aromatic cherries? They will be the star when they are folded into the creamy base!
When your cream mixture is cool, pour it into your ice cream maker, following the manufacturer’s instructions. Churning is a delicate affair, full of swirling textures and soothing sounds. After a few moments of churning, gently fold in your prepared cherries, ensuring that they are evenly distributed throughout the ice cream base. Now, transfer your masterpiece into an airtight container and freeze for at least 4 hours, letting it firm up. As the sun sets, the warm anticipation builds; soon, you’ll be indulging in your very own homemade cherry ice cream!
Serving Suggestions & Occasions
This homemade cherry ice cream is perfect for a variety of occasions. Serve it in beautifully chilled bowls for an elegant dessert during dinner parties, or pile it high in waffle cones for a delightful snack on a sunny afternoon. Pair it with chocolate cake for a rich flavor contrast, or enjoy it with warm cherry pie for a delicious twist. Consider garnishing with fresh cherry halves or a sprinkle of crushed almonds for an added touch of elegance. This ice cream is not just a treat but a celebration that brings people together, making it ideal for family gatherings or summer barbecues.
Common Mistakes For Homemade Cherry Ice Cream
Creating homemade ice cream can be a breeze, but there are pitfalls to avoid. One common mistake is not adequately chilling your mixture; if it’s not cool enough before churning, the texture may become too icy. Avoid rushing the cooling process. Another misstep is neglecting to use ripe cherries. Under-ripe or overripe cherries can alter the flavor significantly—only the best will ensure a delightful balance. Finally, ensure to churn according to the manufacturer’s instructions for the ice cream maker you’re using. Each machine behaves slightly differently, and understanding yours will yield deliciously creamy results.
Healthier Alternatives & Variations
If you’re seeking a healthier spin on your homemade cherry ice cream, consider using lower-fat milk options or substituting some of the sugar with natural sweeteners like honey or agave syrup. You can also experiment with coconut milk for a dairy-free version that provides a unique flavor profile. Variations on this recipe are endless—add in chocolate chips for a cherry chocolate delight, or blend in some crushed nuts for added crunch. For a tropical twist, mix in a bit of crushed pineapple to complement the cherries’ flavor beautifully. The versatility of this basic recipe allows for exploration!
FAQs
Can I use frozen cherries instead of fresh?
Yes, you can, but thaw them first and drain excess liquid before adding them to the mixture.How long does homemade cherry ice cream last in the freezer?
It can last up to 2-3 weeks in an airtight container.Can I make this recipe without an ice cream maker?
Yes, you can freeze the mixture in a bowl, stirring every 30 minutes until it reaches a creamy consistency.Is it necessary to add cornstarch?
No, it’s optional, but it helps thicken the ice cream for a creamier texture.Can I use other fruits instead of cherries?
Absolutely! This base works wonderfully with strawberries, raspberries, or blueberries.What’s the best way to serve homemade cherry ice cream?
Serve it in bowls, cones, or alongside dessert pastries; top with fresh cherries or a drizzle of chocolate for a beautiful presentation.
Conclusion
Now that you’ve discovered the simple joy of creating homemade cherry ice cream, it’s time to bring this delicious recipe to life in your kitchen. Imagine the enticing aroma of fresh cherries mingling with creamy goodness, promising a treat that’s as delightful as summer itself. Whether you’re sharing it with loved ones on a warm evening or savoring it solo in quiet reflection, every scoop embodies the essence of happiness. Don’t wait any longer; roll up your sleeves and dive into making this cherry-laden delight that will be cherished for years to come!
Homemade Cherry Ice Cream
Ingredients
Base Ingredients
- 2 cups heavy cream Provides rich creaminess.
- 1 cup whole milk Adds smoothness.
- 3/4 cup granulated sugar Balances tartness.
- 1 teaspoon vanilla extract Enhances flavor.
- 1 tablespoon cornstarch Optional for thicker consistency.
Cherry Ingredients
- 2 cups fresh cherries, pitted and chopped Bursting with flavor.
- 1 tablespoon lemon juice Adds brightness.
- 1/2 teaspoon almond extract Optional for nutty depth.
Instructions
Preparation of Mixture
- In a medium saucepan, combine 2 cups of heavy cream, 1 cup of whole milk, and 3/4 cup of granulated sugar over medium heat. Stir occasionally until sugar dissolves.
- In a separate bowl, mix 1 tablespoon of cornstarch with 2 tablespoons of milk to create a slurry.
- Gradually add the cornstarch slurry into the warming cream mixture, stirring for 5 to 7 minutes until slightly thickened.
Cooling and Cherry Preparation
- Remove the saucepan from heat and let the mixture cool to room temperature.
- In a bowl, toss 2 cups of chopped cherries with 1 tablespoon of lemon juice.
Churning
- Pour the cooled cream mixture into an ice cream maker and churn according to the manufacturer's instructions.
- During the last few moments, gently fold in the prepared cherries.
Freezing
- Transfer the ice cream to an airtight container and freeze for at least 4 hours.